
Wii
The Wii is the platform where RetroXR’s whole idea pays off most obviously. A Wii is not a machine you plug in and play — it is a machine you set up. There is a bar to place on the television, a remote to pair, and a dongle to clip on the end of it. RetroXR makes you do all of it.
Setting one up
Section titled “Setting one up”-
Spawn a Wii from
SPAWN→ Systems, and a TV. -
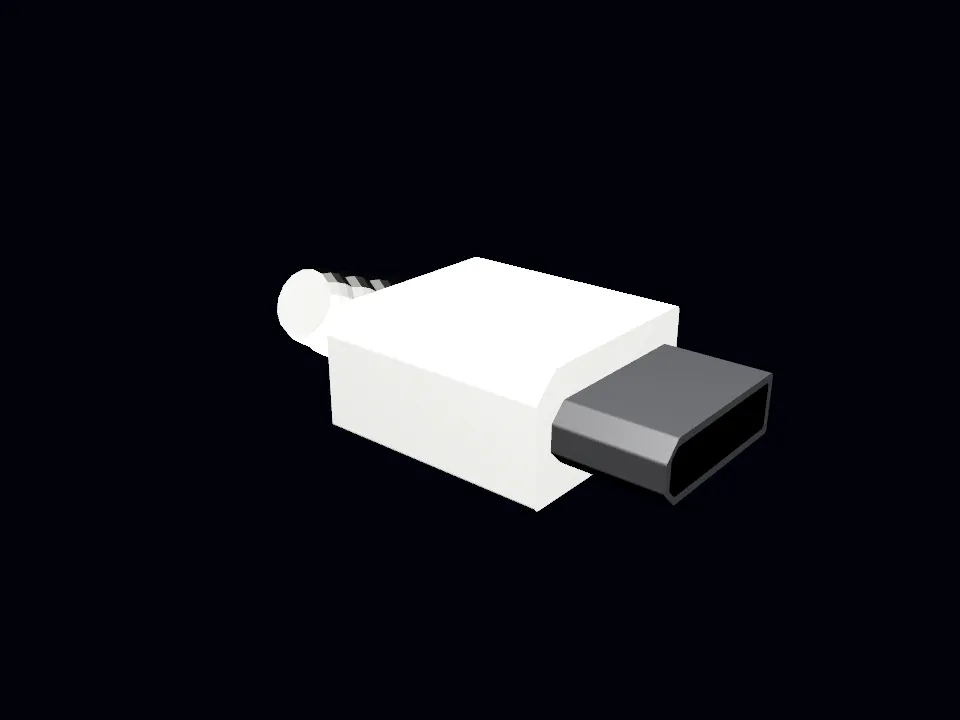
Spawn a Wii composite adapter from the Objects tab and use it for the console’s A/V out — the Wii does not carry a plain composite lead of its own. Run it to the TV, as on plugging things in.
-
Spawn a sensor bar and stand it on top of the television. The Wiimote’s pointing is worked out from this bar, so where you put it genuinely matters.
-
Spawn a Wiimote.
-
Sync them. Press SYNC on the Wii first. Then, on the remote, swing the battery cover open and press the SYNC button underneath it — exactly where it was on the real hardware.
Getting at SYNC
Section titled “Getting at SYNC”The cover is the trigger. The button is your finger.
-
Open the cover. Bring a controller tip near it and a floating open-hand icon appears. Pull the trigger to latch onto it — the icon becomes a fist and the cover swings with your hand. Once latched your hand can leave; the latch holds until you release the trigger.
-
Press SYNC. Reach in and push the button with your fingertip. As of v0.4.0 this is an ordinary poke — no arming, no trigger pull. The cover is what keeps it safe.
The player LEDs
Section titled “The player LEDs”The four blue LEDs along the remote’s face say which slot it claimed — player one is the leftmost, exactly as on the real console.
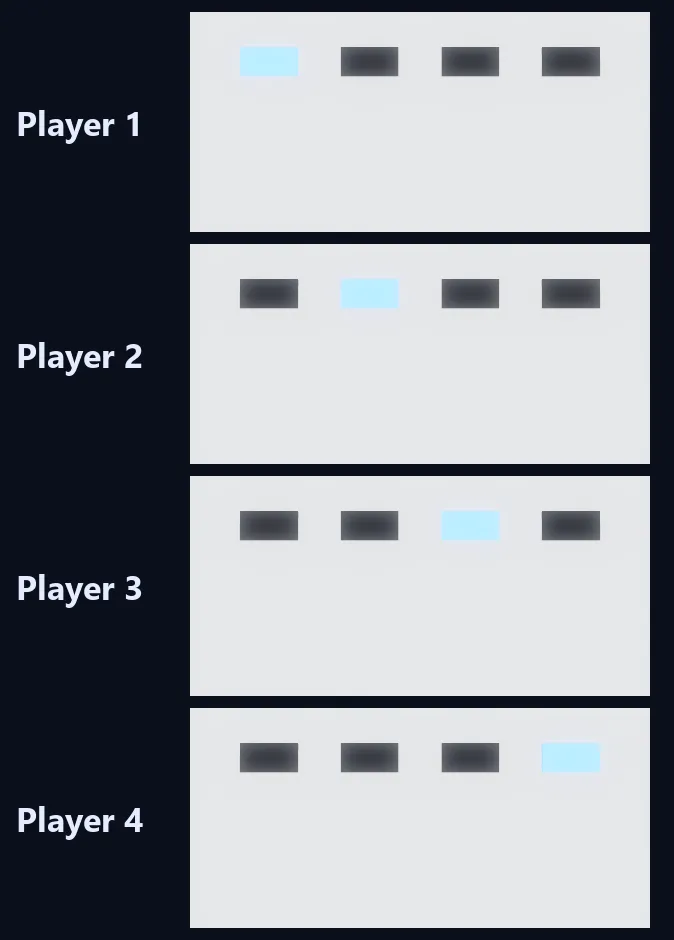
They have three states, and the middle one is deliberate:
| State | LEDs |
|---|---|
| Unpaired | All four blinking together, as in discovery |
| Paired, console off | Dark |
| Paired, console on | LED N solid, for slot N |
A remote is not talking to a console that is not running, so lighting a player number while the machine is off would claim a connection the game could not possibly see. Dark is the honest answer.
Pressing SYNC again while already paired drops the pairing, so unpairing does not need a walk back to the console.
AV Multi Out
Section titled “AV Multi Out”The Wii does not have a phono row. Everything leaves through a single AV Multi Out connector on its back, which fans out to composite at the other end — which is why the Wii needs its own composite adapter rather than the generic lead the other consoles use.
Both of the console’s sockets are on its back panel:
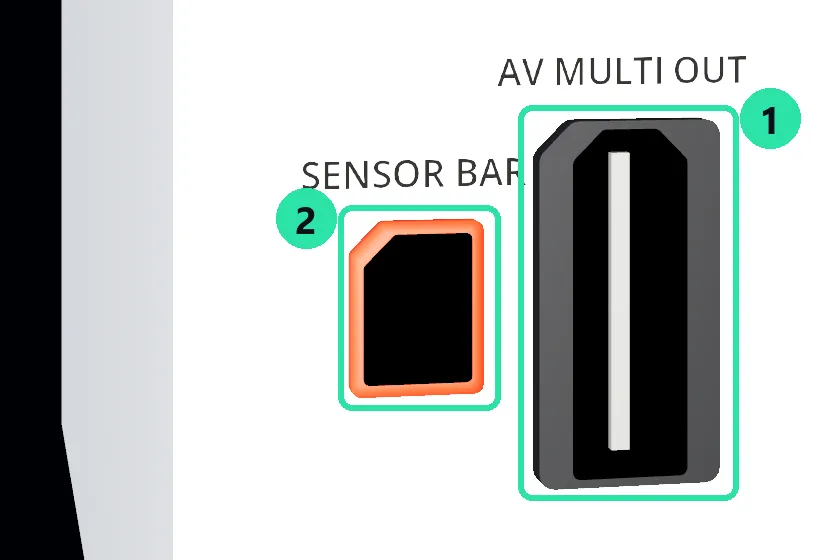
① AV Multi Out — everything the console outputs. The composite adapter plugs in here.
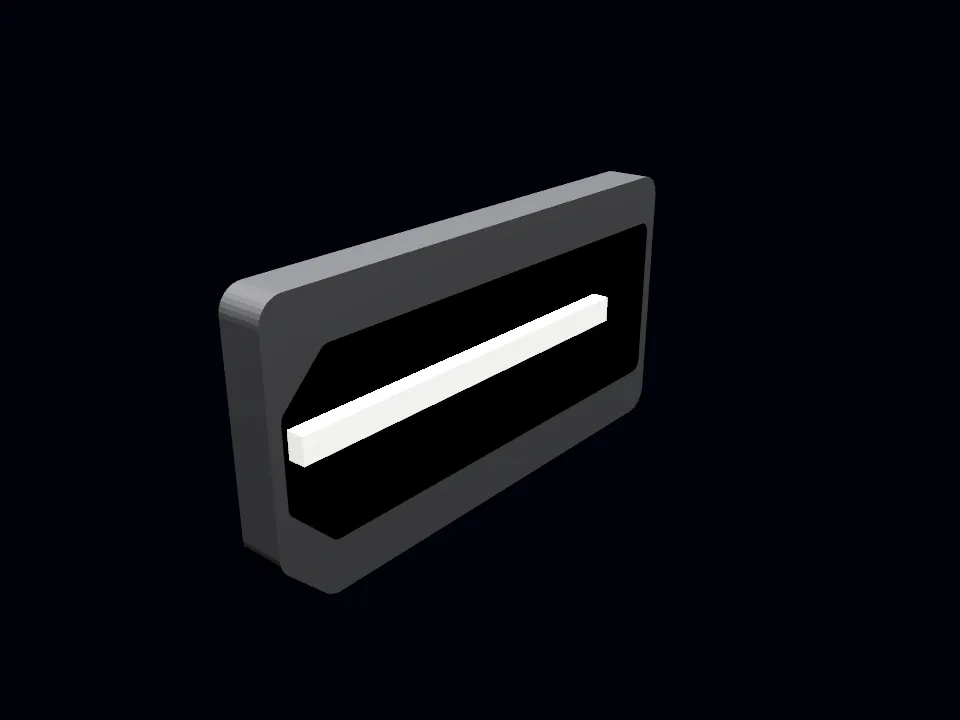
② Sensor bar — the bar you stand on the television plugs in here.
The sensor bar
Section titled “The sensor bar”It is not a controller and nobody holds it, so it lives under Objects rather than Controllers. It plugs into the Wii and stands on the set.
The Wiimote
Section titled “The Wiimote”Pick it up and swing it. Pointing works off the sensor bar you placed, so if the pointer is wrong, the bar’s position is the first thing to check.
The POWER button
Section titled “The POWER button”The POWER button on the remote does what it did on the hardware, and it is held rather than tapped:
| Hold it for | What happens |
|---|---|
| 1 second | The console turns on |
| 4 seconds | The console turns off |
Holding it sideways
Section titled “Holding it sideways”A remote can be held sideways in two hands, the NES-pad grip a lot of Wii games were designed around. Grab it with both, turn it across you, and it plays as a horizontal pad.
Controls
Section titled “Controls”A Wii Remote has seven buttons and a d-pad. A VR controller has about five usable inputs in one hand, so the remote is driven from two directions at once: the hand holding it, and your other hand poking the shell.
Holding it
Section titled “Holding it”| Your VR controller | Wii Remote |
|---|---|
| Trigger | B — the real B is under the remote, right where your index finger is |
| A / X button | A |
| Grip | 1 |
| B / Y button | 2 |
| Thumbstick click | + |
| Thumbstick | D-pad |
| Moving the remote | Tilt and shake, from the barrel’s real motion |
Poking it
Section titled “Poking it”Reach over with your free hand and press the buttons on the shell directly: A, 1,
2, +, − and Home. − and Home have no default hand binding, so poking is
how you reach them.
Rebinding
Section titled “Rebinding”The hand bindings above are defaults, not fixed. Change them globally or per system under
CONTROLS.
On desktop
Section titled “On desktop”The remote can be held in desktop mode too. Those keys only take effect while Scroll Lock capture is on — otherwise they still belong to you, walking around the room.
| Key | Wii Remote |
|---|---|
W A S D |
D-pad |
Numpad 1 |
B |
Numpad 2 |
A |
Numpad 4 |
1 |
Numpad 3 |
2 |
Enter |
+ |
Shift |
− |
V |
Home |
X |
Shake |
How the pointer actually works
Section titled “How the pointer actually works”Worth knowing, because it explains why the sensor bar’s placement matters so much.
RetroXR does not raycast at the television. There is a camera in the nose of the remote, and every lit sensor bar LED in the room is projected into it; the resulting pixel coordinates go straight to the core. That is the whole of the aim — no cursor, no screen intersection.
Three channels reach the emulator every frame:
- IR — the sensor bar’s lights, seen by the remote’s own camera.
- Buttons — everything in the tables above, plus the Nunchuk’s stick when one is seated.
- Motion — a real accelerometer in g derived from the barrel’s movement, which is what makes tilt and shake games work, plus a gyroscope in rad/s, which is what MotionPlus reports.
Because the remote sees actual lights, it carries roll and distance as well as direction — things a point on a plane cannot express.
Wii MotionPlus
Section titled “Wii MotionPlus”Spawn a MotionPlus from the Controllers tab and push it onto the expansion port on the bottom of the Wiimote. Games that need it will then see it.
The Dolphin build RetroXR downloads is a custom fork carrying MotionPlus gyro fixes, along with IR passthrough for the sensor bar and an Android race-condition fix. The core manager fetches it for you — you do not need to build anything.
The Nunchuk
Section titled “The Nunchuk”Plug it into the expansion port on the base of the remote. Its stick and buttons work:
| Your VR controller | Nunchuk |
|---|---|
| Thumbstick | The analog stick |
| A / X button | C |
| Trigger | Z |
Swing it, too: the Nunchuk’s own accelerometer works as of v0.4.0, so games that ask you to jerk the Nunchuk read that motion rather than ignoring it.
Known issue: Dolphin, Vulkan and passthrough
Section titled “Known issue: Dolphin, Vulkan and passthrough”On Quest only, running Dolphin with passthrough under Vulkan leaves odd artifacts on the screen.
The fix is to select OpenGL ES 3 as the preferred hardware renderer for Dolphin, in the core manager’s options for that core. See downloading and managing cores.
Still to come
Section titled “Still to come”The Wii arrived in v0.3.0 and got most of its second pass in v0.4.0 — a remodelled remote and Nunchuk, a working power button, the sideways grip and Nunchuk motion, which had been the big missing piece.